

cmiVFX Autodesk Maya Rapid Primer

Autodesk Maya Rapid Primer
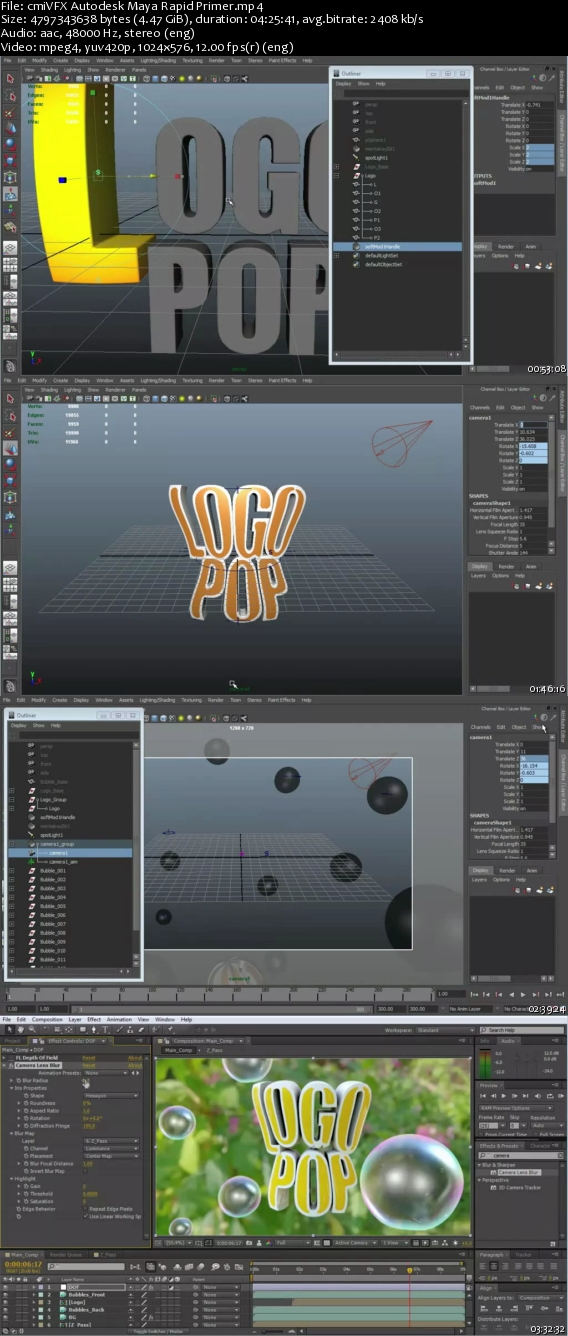
English | Team: N/A | .MP4 | mpeg4, yuv420p, 1024x576, 12.00 fps | aac, 48000 Hz, stereo | 4.55 GB
Genre: eLearning
English | Team: N/A | .MP4 | mpeg4, yuv420p, 1024x576, 12.00 fps | aac, 48000 Hz, stereo | 4.55 GB
Genre: eLearning
cmiVFX has released their first video of the brand new MAYA AFTER EFFECTS - RAPID PRIMER. This course introduces viewers to the Autodesk Maya and Adobe After Effects pipeline workflow. Step by step we will build this happy little scene, from scratch. Within Maya we'll touch on multiple subjects such as modeling, UV mapping, building complex shaders, using different deformers, rigging, lighting and animating. More, we'll learn how to set up multiple render passes. Later on, how to use and compose them, setting up our render settings and all in a linear workflow.?In After effects we'll compose all the render passes and learn how to use the ever popular Trapcode Particular plugin to enrich are scene. We will touch on color correction, faking a shallow depth of filed, and whole lot of tips and tricks that would give our scene that final polished look.?This course was made for beginners, and as such the workflow is presented in an easy pace, with comprehensive descriptions and explanations which are given every step of the way. The instructor, Ran Ben Avraham, will make sure you understand the reason behind the actions.
Autodesk Maya Rapid Primer content:
Modeling And Texturing The Soap Bubble:
In this first chapter of the course, we will model the soap bubble. Create a mildly complex shader for it, based on the blinn material and set up basic render settings for our test renders.
Modeling And Texturing The Logo:
Our next step would be to model the Pop Logo. We will start with the Maya native text tool, and mold it to our purpose. We will set up the logo's UV map and build a texture for it in Photoshop as well as another mildly complex shader.
Rigging And Preparing The Logo For Animation:
In this 2 part chapter we'll use two non-linear deformers, the bend, the squash, and the sculpt deformer to give the logo its final look and its elastic rubbery animation abilities. We'll fit a bubble for the logo and group them together. To that group we'll add 4 new attributes, connect the deformer's attributes and bubble scale attribute to those new attributes.
Scene Setup:
In this chapter we'll create the camera that will be used to shoot the scene and set up its position in 3D space. We'll fill up are scene with soap bubbles in different sizes and different locations. Lastly, add to them the random wobbly animation using the free plugin - "Wobble".
Animating The Scene:
Now that are scene is all set up, rigged and ready for animation, it's time to start animating! In this chapter we'll animate the bubbles, the logo and the camera. After that we'll smooth out and refine the animation curves using the graph editor.
Adding Expressions:
In order to add a little more randomness and a bit more lifelike movement to the animation, we will apply the noise expression to the bubbles, logo's and camera's X,Y,Z translation attributes. Furthermore, to achieve control over the expression and to animate it we will connect the logo's expression to the "Wiggle" attribute we created for it earlier.
Preparing The Render Layers And Final Render Settings:
In this chapter we will start thinking about compositing the animation and of the best way to export our animation from Maya to After Effects. We will separate the objects in are scene to different render layers in order to render out different render passes. But how do we make sure that some objects will reflect in others but remain invisible in the layer? Let's jump in and see.
Basic Compositing:
We are all finished and done with the Maya part of this course. In this chapter we'll jump in to After Effects, where we will import all of our rendered sequences and set them in their correct order. We'll use our rendered Z-Pass to create a shallow depth of field in our composition as well as blur out the background using two extraordinary plugins: "FL Depth Of Field" and "FL Out Of Focus". Watch as our scene starts to get its final look.
Particles:
In this chapter we'll add the environment particles, that dust like substance floating in the air which adds so much to the look and feel of the scene. We will also create the exploding soap bubble particles animation. For both particles systems we will use Trapcode particular, but for those of you how don't own that plugin I'll show the native After Effects alternatives. Next, we will use CC Particle playground 2 for the environment particles and CC ball action for the exploding particles. To integrate the particles better into our scene we'll create an after effects camera, and mimic Maya's camera animation and expression.
Final Compositing:
In this chapter we'll add the final touches to our scene. We'll add the lens flare using Video Copilot's Optical Flares plugin. We'll add some final contrast to the scene, a slightly different hue for the logo and a hue sampled from the background flowers. We'll add some gentle vignette and motion blur to the entire scene. Finally we will lie back and admire our work.
Screenshot
cmiVFX Autodesk Maya Rapid Primer
Please pm to request_backup@hotmail.com if link die. Thank you